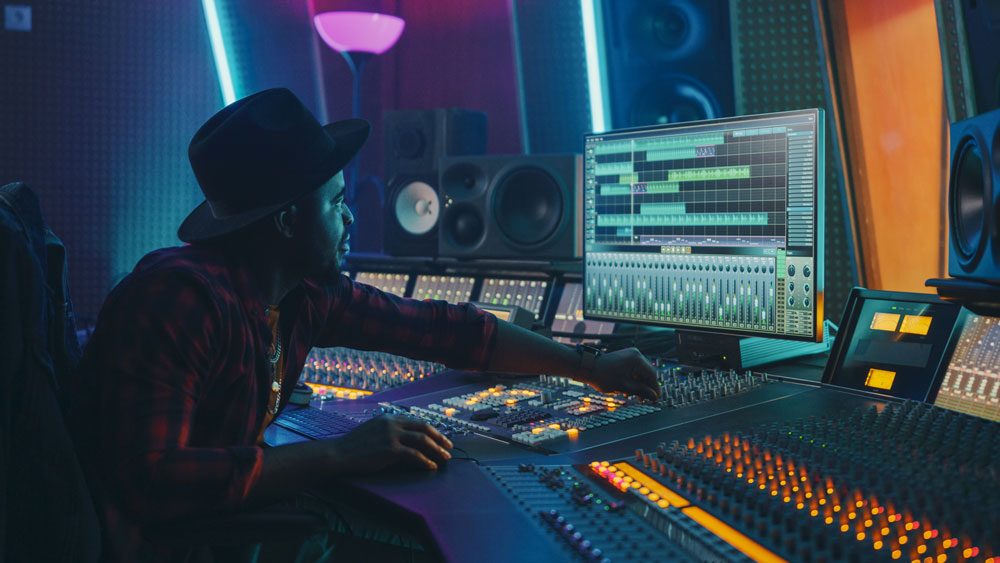
If you think the key to mixing a good sound is to simply put carpet or foam on a wall and call it good, you’re understandably mistaken. A good studio knows there’s a science to capturing the perfect sound.
When selecting a Utah recording studio, be sure you’re going with the best. In order for your sound to translate well in spaces outside the studio, the music production team you’ve chosen should have perfected the science of sound.
What Makes for a Good Utah Recording Studio?
While fancy recording equipment might be helpful in a studio, what you really want is a room that has perfected the science of acoustics. A good Salt Lake City music recording studio has more than just the latest mics and mixers; it has a carefully cultivated space that helps you produce the best sound possible, which will translate well to being played in other spaces.
- Acoustics – A music production expert knows that acoustics should be the first element considered when mixing. There’s only so much that can be fixed in post. If the original recordings are negatively impacted by bad acoustics, you’re likely facing a long editing process. Before you book an audio recording studio, make sure they have properly outfitted their space for optimal acoustics.
What Acoustics Are Controlling
What, exactly, is the point of designing a space for good acoustics? Well, there is a science to how sound waves travel. In different spaces, the sound waves can be complemented or distorted. You want only the best to be recorded. Good acoustics in our Salt Lake City recording studio aims to control the following:
- Reflections – When sound waves move throughout a space they can reflect, or bounce, off surfaces. If not controlled, it can create an undesirable sound to the music. For example, bass sound waves reflecting improperly can make these notes sound much louder than others on the recording.
- Frequencies – Different notes have different frequencies, and acoustics are intended to control the decay of each frequency at the same rate. Improper acoustic design might allow high frequencies to absorb more readily than mid and low frequencies, again distorting volume on the recording.
- Flutter Echoes – If your recording studio has parallel walls, you might be faced with the challenge of flutter echoes. This is when mid and high-frequency sound waves bounce back and forth between parallel surfaces. A music producer worth their weight should create non-parallel walls to eliminate these echoes.
- Standing Waves – Similar to flutter echoes, standing waves are primarily a problem with lower frequency sound waves.
How to Enhance Acoustics
Now that you know some of what acoustics control, how is the desired effect achieved? Well, it does depend on the type of sound you’re going for. A recording studio will alter the acoustics of a room for the production purpose. But, generally, here are tips for getting good acoustics in a room.
- Record in a room with angled walls (rather than with right angles) – If you’re creating a recording space from scratch, be sure the room has angled walls, rather than parallel walls. We can manipulate the construction of a space, using some of the following to create the desired effect of angled walls.
- Diffusers – Whether homemade or store-bought, a diffuser is typically a wooden block or molded plastic component. When affixed to a solid surface, its uneven shape can break up reflected sound. Instead of the sound waves bouncing endlessly back and forth, they’re disrupted and diffused.
- Absorbers – Ideally, an absorber is a porous object that dampens a sound wave’s reflection. Instead of all the waves reflecting off a surface, some of them are absorbed (hence the name!), while others are allowed to bounce back into the room.
- Speaker placement – While you may not be able to alter your wall placement, you can at least alter speaker placement in the recording studio. Be sure the speakers are facing the length of the studio. Keep them away from walls and corners to avoid reflections, and be sure the speakers aren’t midway between the floor and ceiling. Consider the speakers as two points of a triangle, with the optimal listening position being the third point.
- Performer/instrument placement – The musician should not be placed in the middle of the room; try to position him/her off-center in relation to the front and rear walls of the recording studio.
- Mic – The mic can pick up reflected sound if you’re recording in a room with hard flooring. To help combat this, you can simply put down a carpet or rug to dry out the sound.
Though these tactics may sound simple enough, exact measurements matter. Based on the size of the recording studio, and the sound desired, things like diffusers and absorbers will vary in structure. Equipment placement will need to be tweaked. But don’t worry, our recording studio knows the ins and outs of good sound and offers a space to cater to a variety of needs. Whether you’re recording a podcast episode, your latest jam, or voiceover work, we have you covered.
|
Production Studio Rental Services
|
Media Production Services
|
|---|---|
|
Audio Production Rental
|
|
|
Podcast Production Studio
|
Music Recording Studio
|
|
Green Screen Backdrop Photography
|
